 EN
EN

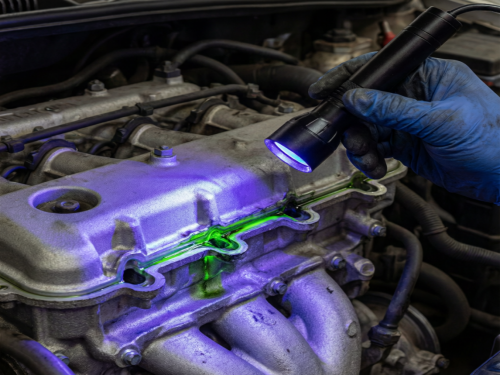
Correct oil pan alignment requires centering the pan on its dowel pins or bolt pattern before torquing, ensuring the gasket seats uniformly around the full perimeter. Misalignment by even 1–2mm causes uneven gasket compression, chronic oil leaks, and — in the worst cases — interference with rotating assembly components like the crankshaft counterweights or the windage tray. Because the oil pan is a large, floppy part with a long sealing perimeter (often 1.2–1.6 meters on a modern inline-four), it is unusually sensitive to installation technique.
Common mistakes we see in warranty returns and workshop reports: ignoring dowel pins entirely so that the pan shifts a few millimeters during initial bolt torque and pinches the gasket on one side; placing the gasket unevenly so that a section of the gasket extends beyond the flange (exposed to oil erosion) while another section is pinched between two surfaces without proper compression; starting the corner bolts first, which locks the pan into a diagonal misalignment before the center bolts have a chance to center the assembly; and over-tightening one side while leaving the other loose, which warps the stamped-steel flange permanently.
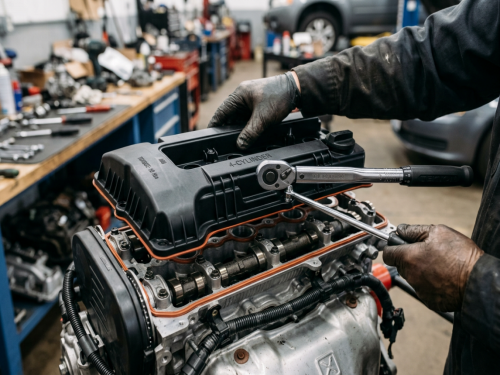
The proper sequence, as documented in most OEM service procedures and reinforced by our own factory validation data, runs as follows: clean both mating surfaces to bare metal or bare composite with the techniques appropriate to the substrate; place the new gasket (dry, unless the OEM specifies a light oil film) or apply RTV in a continuous 3mm bead per OEM spec — not a heavy blob and not a broken line; align the pan onto the dowel pins with the pan level, then let it settle onto the block by gravity rather than forcing it home; insert all bolts finger-tight before any torquing begins, so that the pan self-centers on the fastener pattern; torque in a spiral pattern from the center outward in two or three stages (typically 50%, 75%, and 100% of final torque); and allow RTV cure time — usually 60 minutes minimum before filling oil, 24 hours before running the engine on brands like Toyota FIPG and Honda Bond 1207.
A workshop scenario: a Chevrolet 5.3L V8 came into a fleet shop with a persistent leak at the rear-driver corner of the oil pan. The tech had already replaced the gasket twice. On the third attempt, we walked the shop through the alignment sequence over the phone. The root cause turned out to be that the pan was being installed without the two rear locating dowels seated — they had been left in the old pan when it was removed. Once the dowels were reinstalled in the block and the pan slid down onto them, the gasket compressed evenly and the leak stopped. Two hours of diagnostic time, saved by five minutes of alignment discipline.
Comparison in prose: aluminum oil pans typically use two or four alignment dowels because the flange is rigid enough to reference from those points precisely. Stamped-steel pans usually rely on the bolt pattern alone, which is more forgiving but requires that all bolts be finger-tight before any torquing begins. Composite lower pans (some Audi and BMW applications) always use dowels because the flange is not stiff enough to self-locate. Mixing the technique — for example, torquing corners first on a stamped-steel pan — is the single most common cause of a chronic leak that survives multiple gasket replacements.
OE-equivalent replacement pans from IATF 16949-certified manufacturers undergo dimensional inspection — including image testing to verify bolt-hole positioning within 0.30mm of print — because a mis-drilled bolt pattern is the one variable the installer cannot compensate for at the bench. Nansen Auto's Si County facility, staffed by 80+ trained operators and equipped with 10+ injection molding machines from 130T through 650T, produces oil pan tooling to the same tolerance standards as our patented valve cover line, and every new model launch is validated on-vehicle before it enters serial production for our 80+ export markets.
Common pitfalls: using RTV as a substitute for cleaning — it wicks into contamination and creates leaks; over-tightening bolts to compensate for a warped flange — this compounds the warp; skipping the finger-tight step and torquing bolts in order — this locks in misalignment; and adding oil before the RTV has cured — this contaminates the joint and produces a slow weep for the life of the seal.
FAQ:
FAQ: Q: How do I know if my oil pan has alignment dowels? A: Check the service manual or the block face when the old pan is removed. Most aluminum pans use two dowels — usually at diagonally opposite corners — while stamped-steel pans often rely on the bolt pattern alone. Dowels are small (typically 6–10mm diameter) hollow or solid pins pressed into the block face.
FAQ: Q: Can a slightly misaligned pan be corrected without removal? A: No. Once bolts have been torqued, the gasket has already taken a compression set in the wrong position and cannot re-seat. Loosen all bolts, reposition the pan on the dowels or bolt pattern, and re-torque in the correct sequence — but plan on replacing the gasket at the same time.
FAQ: Q: What RTV bead diameter should I use if the OEM doesn't specify? A: A continuous 3mm bead is a safe default for most passenger-car applications, applied on the pan side (not the block side) to keep excess squeeze-out inside the pan rather than into the oil galleries. Encircle each bolt hole with the bead so no oil path can bypass the fastener.
FAQ: Q: How does Nansen Auto ensure bolt-hole alignment on replacement pans? A: Every pan model is validated with a CMM dimensional report against the OEM print at tooling release, and production is monitored with image testing that captures every bolt-hole position on a sampling basis per shift. Any drift outside 0.30mm halts the tool for correction — this discipline is part of our IATF 16949 control plan and is one of the reasons our warranty returns on alignment-related complaints sit at less than 0.2%.