 EN
EN

Proper valve cover surface preparation is essential for a leak-free seal, and in our warranty analysis it is the single largest contributor to repeat leaks after installation. Residual old gasket material, oil film, or surface imperfections defeat even a perfect gasket and a perfect torque sequence, because sealing is fundamentally a contact problem: the gasket has to bridge the microscopic gap between two mating surfaces, and any contamination in that gap becomes a leak path.
The contamination-to-technique map is worth memorizing. Old RTV sealant requires a plastic scraper plus a chemical solvent — scraping alone leaves smeared residue in the surface grain, which becomes a leak channel; metal scrapers can gouge aluminum covers and are strictly banned on composite covers. Cork gasket residue needs a razor blade on metal covers only, worked at a shallow angle to avoid cutting into the flange. Oil film requires a brake cleaner or acetone wipe — silicone-based solvents leave a residue that fights adhesive gasket materials. Corrosion or scale on aluminum needs a fine Scotch-Brite pad (rating 7447 or finer), never a wire wheel or coarse abrasive that changes the surface flatness.
Step-by-step, the process our OE customers follow reads like this: remove all visible old gasket material by hand or with the appropriate scraper for the substrate; apply a gasket-remover solvent to stubborn residue and let it dwell 5–10 minutes rather than trying to muscle it off; clean with a lint-free cloth and brake cleaner, working from center outward to push contamination off the flange rather than into it; inspect for nicks, gouges, or warping with a machined straightedge and 0.05mm feeler gauge — anything over 0.15mm out-of-flat should be addressed before reinstallation; verify all bolt holes are clear of oil, coolant, and old sealant using a bottoming tap where allowed; and confirm the surface is completely dry — solvent residue interferes with RTV cure and with the friction coefficient the gasket relies on.
A typical field failure: a Toyota 2AZ-FE owner replaces the valve cover gasket after a top-end leak. The gasket is new, the torque is correct, but the cover leaks within three weeks. When the cover is removed, we see a faint gray smear of old RTV on the head flange, right at the corner near the timing chain cover — a spot that is famously hard to reach without pulling adjacent components. That smear, less than 0.5mm thick, is enough to hold the gasket 0.05mm off the head across a 40mm arc, and once thermal cycling begins the oil finds its way out. The fix is not more torque, it is more thorough cleaning.
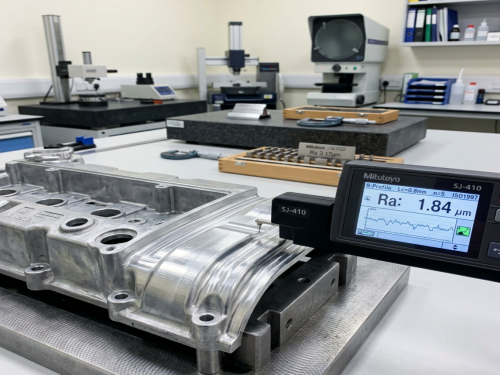
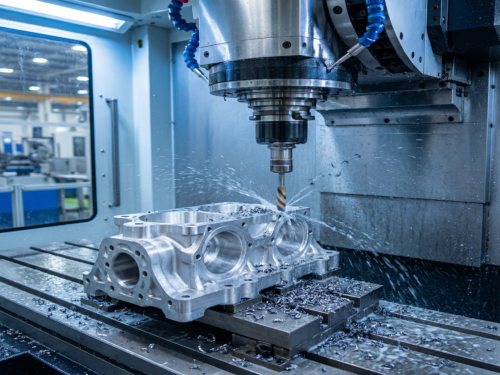
Nansen Auto (IATF 16949 certified, valve cover invention patent holder) engineers our mating surfaces with controlled flatness tolerances — typically better than 0.10mm across the full sealing perimeter — and verifies each production batch through image testing that maps the entire flange in a single scan. This gives us a repeatable baseline; the installer's responsibility is to preserve that baseline by not introducing contamination during installation.
Comparison in prose: brake cleaner is fast and evaporates fully, making it the preferred cleaner for most sealing surfaces. Acetone is more aggressive but attacks some plastics and composite cover finishes, so it should be reserved for metal surfaces only. Carburetor cleaner leaves an oily residue and should not be used on gasket surfaces. Isopropyl alcohol is safe but slow and often leaves streaks. WD-40 has no place on a sealing surface — it is a lubricant, not a cleaner.
Common industry pitfalls: using a razor blade on a composite cover — the gouges alone create leak paths that no gasket can bridge; skipping the straightedge check on aluminum covers with heat-cycle history — mild warpage is common on high-mileage engines and correcting it means either milling the surface or replacing the cover; leaving cleaner residue in bolt holes — hydraulic lock in a blind hole prevents proper bolt seating and can crack a boss on the way to "correct" torque; and forgetting to blow out the bolt holes before assembly — oil in a blind hole reduces friction and produces false torque readings.
FAQ:
FAQ: Q: Can I use a wire wheel on a composite valve cover? A: No. Wire wheels remove material aggressively and change the surface flatness of composite covers, destroying the sealing geometry that was molded in. Use only plastic scrapers and chemical solvents on composite surfaces.
FAQ: Q: Is surface prep needed if using RTV instead of a formed gasket? A: Absolutely, and more so. RTV requires an even cleaner, drier surface for proper adhesion — the cure chemistry is inhibited by oil and interrupted by solvent residue. A clean RTV joint outlasts a formed gasket in some applications; a dirty RTV joint leaks in weeks.
FAQ: Q: How flat does the sealing surface need to be? A: Most OEMs specify 0.10mm across the full perimeter for aluminum heads and 0.15mm for cast iron. Beyond 0.20mm, gasket compression cannot bridge the gap and a leak is essentially guaranteed. A straightedge and feeler gauge give a quick check without machine measurement.
FAQ: Q: How does Nansen Auto verify flange flatness before shipping? A: Every new cover model is measured on a CMM against the OEM print, and production is monitored through image testing that scans the full flange for both flatness and gasket-channel depth. This process is part of our IATF 16949 control plan and is one reason parts leaving our Si County facility hold seal across the wide temperature and vibration profiles seen in our 80+ export markets.